
 UCloud
Installation
This document will guide you through the process of obtaining and installing UCloud/IM for Slurm. By the end of this document you will be connected to UCloud’s sandbox environment.
Prerequisites
The UCloud Integration Module should be deployed on the HPC frontend or a node with a similar configuration.
System minimum requirements:
- OS: Linux (any distribution)
- CPU: x86_64 with at least 4 vCPU
- Memory: 16GB
HPC cluster minimum requirements:
- Slurm: Version 20.02 and above are guaranteed to work, older versions might work.
- Filesystem: A distributed filesystem exposing a standard POSIX interface
- UCloud/IM for Slurm has integrations with: GPFS
In addition, the machine must be able to perform the following actions:
- Communicate with Slurm using the normal CLI commands (e.g.
sinfo). - Access to a distributed filesystem. Mount-point must be the same as on the compute nodes.
- The machine must use the same user database as the compute nodes, such that users and ids are consistent across the entire cluster.
sudomust be installed.- Must allow out-bound Internet connectivity (Note: Production environments also require some in-bound Internet connectivity).
- Must have at least one partition which should accept UCloud jobs
In order to follow along with this document you also need:
- You must have one test user on the system. The test user must have access to:
- Some folder(s) on the distributed filesystem (e.g.
/home/$USERNAME) - An associated Slurm account which can submit jobs to a Slurm partition
- Some folder(s) on the distributed filesystem (e.g.
Obtaining the Software
RPM packages for RHEL are automatically built. You can download the latest RPM package here. Once you have downloaded the package, you can install it with the following command:
TODO Consider if this installation script should enforce a cgroup on user instances since this might limit abuse of certain potential features. (Forkable applications and terminal access)
$ sudo dnf install -y ucloud-im-rhel.rpm
This package will automatically configure and install UCloud/IM and you are ready for the next steps. You can verify that the installation was successful by running the following command:
$ ucloud version
UCloud/IM 2024.1.0
Registering as a Provider
This section will create a secret file containing your credentials. By default, it will be located at
/etc/ucloud/server.yml. Please keep this file safe and keep a backup of it. In case of a re-installation, you
should aim to re-use this file.
Before you can start UCloud/IM, you must register as a service provider. This only needs to be done once. You may receive a test provider in UCloud’s sandbox environment by contacting the support team.
Once the registration is complete, you now have a provider on UCloud’s sandbox environment. From the UCloud interface, you should now be able to select your provider project from the project switcher. You can add other UCloud users to help manage your provider by inviting them through the interface. See the end-user documentation for more details.
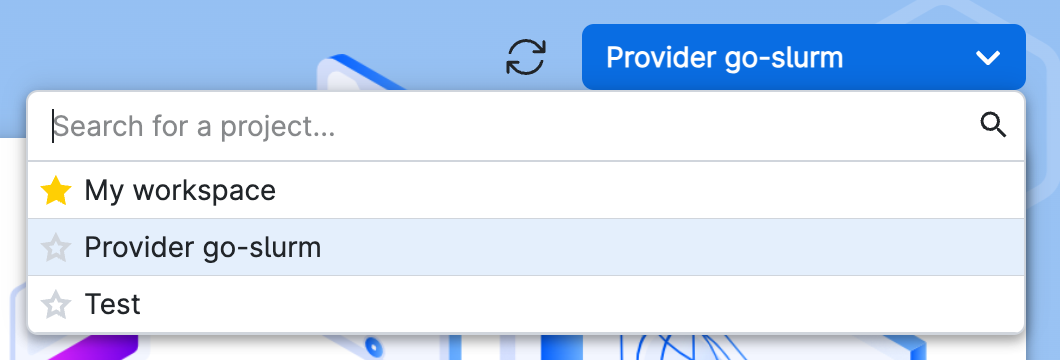
You will be able to manage parts of your provider through UCloud’s interface. To do this, you must first select the provider project which you are automatically added to.
Testing the Configuration
In order to test the configuration, we must first ensure that UCloud/IM is turned on.
You can start UCloud/IM via systemd by running the following command:
$ sudo systemctl start ucloud-im
You can verify that UCloud/IM is running by checking the status.
$ sudo systemctl status ucloud-im
[green]●🖌️ ucloud-im.service - UCloud Integration Module
   Loaded: loaded (/usr/lib/systemd/system/ucloud-im.service; enabled; vendor preset: disabled)
   Active: active (running)
In case of errors, you should check the log files in /var/log/ucloud. At this stage, you should focus on:
$ sudo less /var/log/ucloud/server.log
You might also be able to find useful information in the journal:
$ sudo journalctl -u ucloud-im
You can find more guidance for troubleshooting in our troubleshooting guide.
The following chapters will help you configure UCloud/IM, which is required before you can start the service. Once everything is configured, you should be able to access the filesystem and Slurm.